Understanding how vacuum chucks work, and how they can make your life easier.
We answer questions about our machines daily, but sometimes, we receive even more interest in our vacuum tables. While vacuum tables are not a wholly uncommon accessory in the CNC machining world, MEIWHA approaches them differently, making them the killer accessory to have with a machine.
This unique adaptation comes a lot of questions, and we’re happy to answer! Let’s jump right into demystifying MEIWHA’s spin on vacuum workholding and figure out if it’s the right solution for you.
1. How Does a Vacuum Table Work?
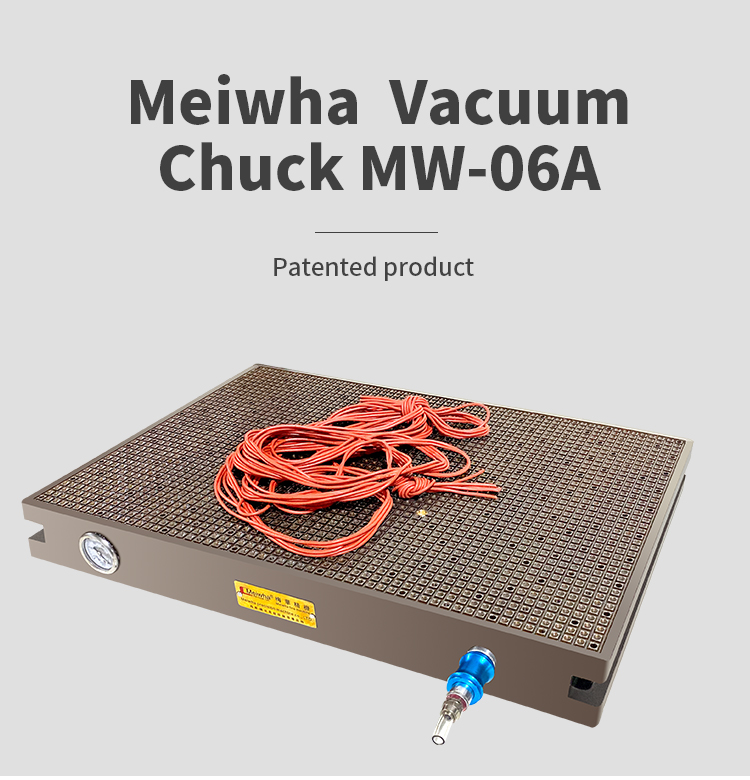
The principles on which our vacuum table system works is not that different from others. Your workpiece is mounted atop a rigid aluminum grid pattern and is sucked downward with a vacuum pump, as a result, it is clamped firmly in place. This is especially useful for thin, large sheet material, where traditional clamping methods deliver lackluster results. This is where the similarities end, though.
2. What’s the Thin Sheet Do?
Perhaps the most common and confusing questions is what the substrate layer does with our vacuum tables. On nearly every other vacuum chuck design, a gasket needs to be installed into the top of the plate in order to seal against the workpiece – this ensures minimal vacuum loss, and strong clamping. The downside of this comes from its inherent limitations – since the gasket is necessary for a strong seal, if the part is cut through, vacuum is lost completely, and the part and tool are destined for the scrap bin.
Enter Vacucard – a permeable layer in between the workpiece and the vacuum table that we get so many questions about. As compared to a standard vacuum table, MEIWHA doesn’t rely on a gasket for a strong vacuum, but the Vacucard layer to slow airflow around the workpiece and disperse the vacuum evenly underneath the part. When paired with a suitable vacuum pump (more on that later) the Vacucard layer allows for vacuum everywhere it’s needed, even when a part is cut through, allowing for maximum flexibility and minimum setup.
3. How Big or Small Can the Parts Be?
There’s a pretty wide range of what sizes are suitable for vacuum parts – ranging from as small as a Ladybug, or as big as the entire machine table, each has its advantage. For big parts, vacuum is the quickest and easiest way to secure sheet material without the headache of installing clamps and having to carefully program around them.
For small parts, the advantage is the ability to batch mill many pieces from a single sheet. There is even a variety of our substrate, Vacucard +++, which has an adhesive grid to aid in the holding of extra small parts to ensure they keep still for the final cut.
4. How Much Clamping Force Does it Provide?
This is one of my favorite questions to answer because I get to nerd out on the science behind it! The reason vacuum workholding clamps parts so tight isn’t because of the suction underneath, rather, it’s the amount of pressure above. When you pull a hard vacuum underneath your workpiece, the force that is holding it in place is actually atmospheric pressure.
Since there is massive difference in pressure from under the part (25-29 inHg) versus the top of the part (14.7 psi at sea level) the result is a rigid bite on the vacuum chuck. Figuring out the clamping force on your own is an easy task – simply take the surface area of your material and multiply it by the atmospheric pressure at your altitude.
For example, a 9 inch square piece of material has 81 square inches of surface area, and the atmospheric pressure at sea level is 14.7psi. Therefore, 81in² x 14.7psi = 1,190.7 lbs! Rest assured, over half a ton of clamping pressure is sufficient for holding parts on a DATRON.
But what about small parts? An inch square part would only have 14.7 lbs of clamping force – it would be easy to assume that is simply not enough for holding parts. However, this is where high RPM, strategic use of cutting tools, and Vacucard+++ can ensure dependable results when cutting small parts on vacuum. Speaking of strategic use of cutting tools…
5. Do I Need to Reduce my Feeds and Speeds?
Most of the time, the answer is no. Using the right cutting tools and leveraging the RPM on tap allows for milling without restrictions. However, when it comes down to cutting the part out on the final pass, some extra attention should be paid. How much surface area will be left when the part is cut out, what size tooling is being used, and the toolpaths used beforehand to get to that point are important details to observe.
Little tricks like cutting a descending tab left from a ramp, leaving drops behind instead of pockets, and using the smallest tool available are all easy ways to assure a safe final operation.
6. Is it Easy to Setup?
Just like our other workholding accessories, our vacuum chuck system is extremely convenient to setup. During the initial install, the vacuum pump will need to be placed, plumbed, and wired by an electrician. Using the conical grid system, the vacuum table is mounted, milled flat and true to the machine, and then can be removed and reinstalled with a high level of repeatability. Since vacuum supply is routed through the bottom of the machine table, there’s no hoses to wrestle with – making setup a plug-and-play experience.
After that, the maintenance is easy and infrequent. Besides following the manufacturer recommendations for maintenance on the pump, you may occasionally need to replace a gasket or filter… That’s it.
Hopefully this list has answered some of your lingering questions about vacuum workholding. If you think vacuum workholding might be the answer to your manufacturing dilemma, give us a call!
Post time: Oct-14-2021


